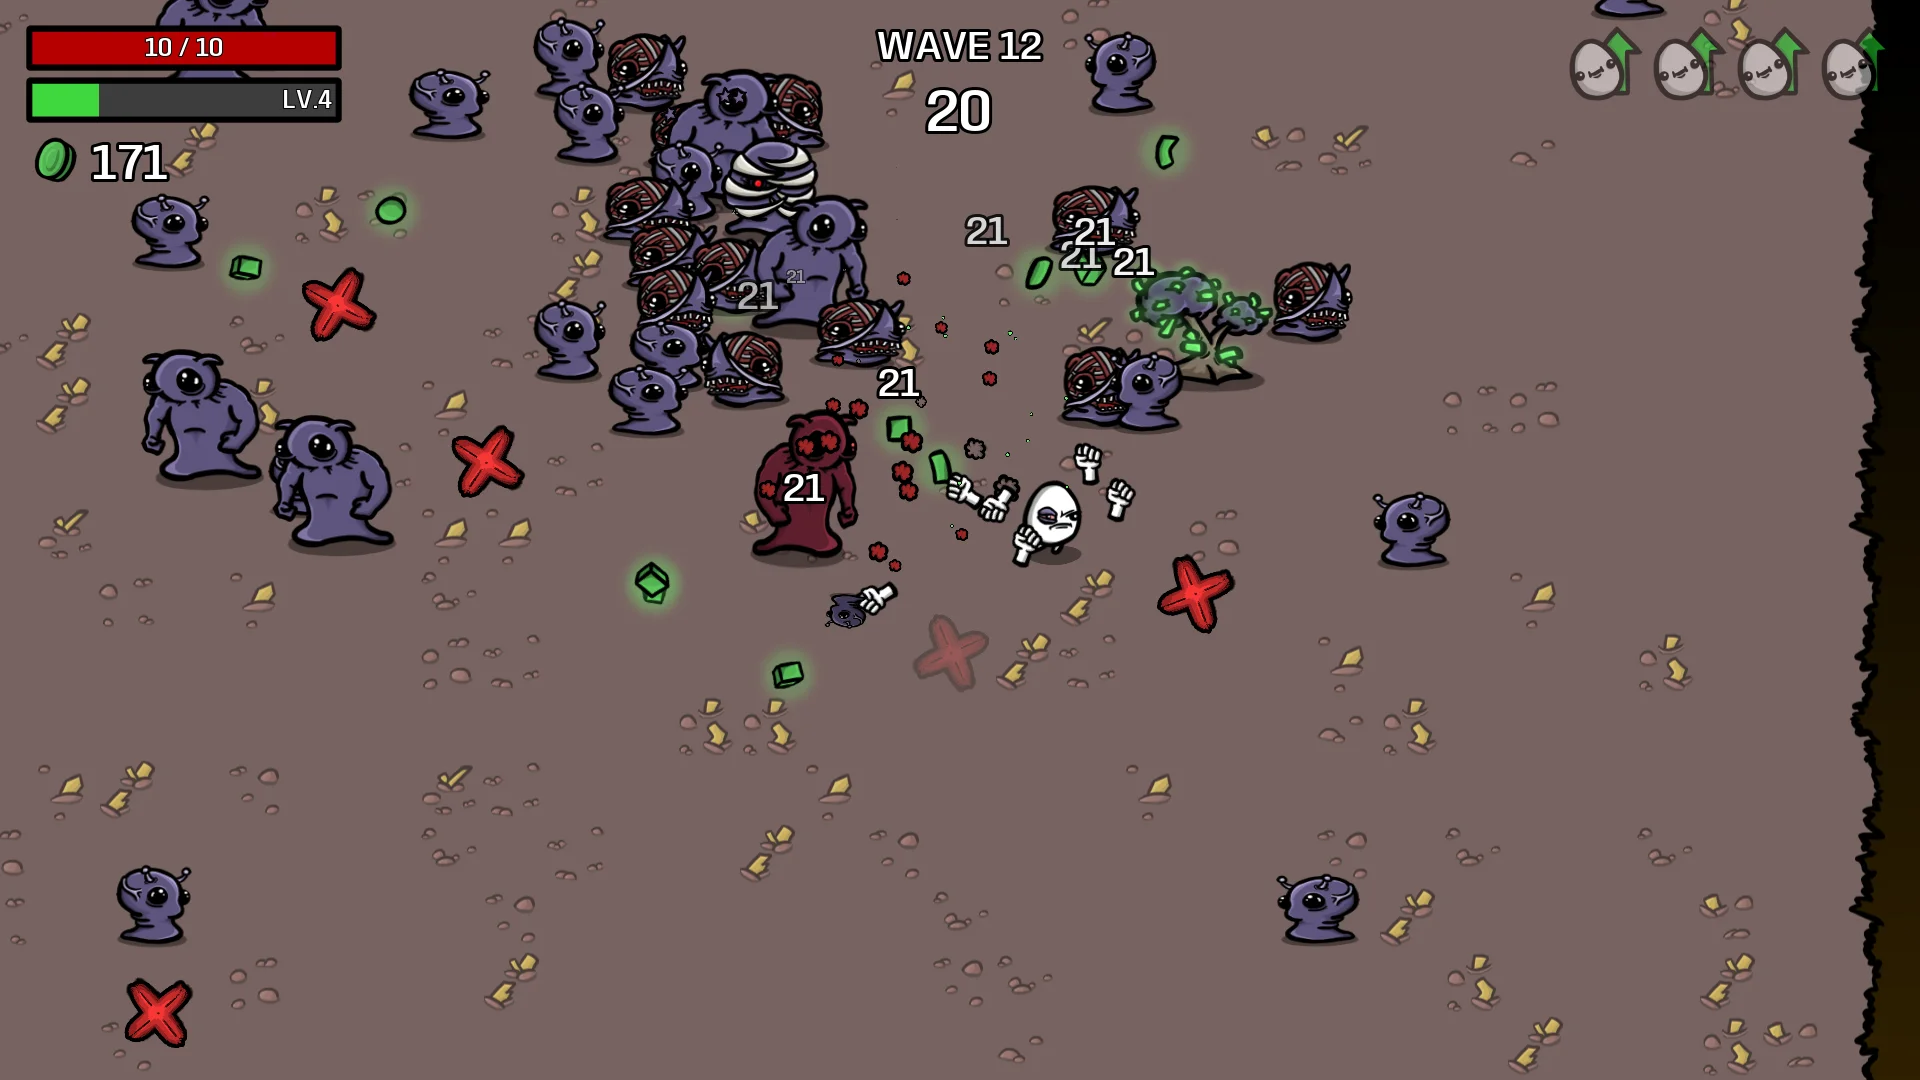
In Brotato, decide what your current build is missing before spending in the shop. Are enemies surviving long enough to surround you, or are you taking hits despite clearing them? Those problems call for different purchases. A rare-looking item is not useful simply because it is offered.
Blobfish’s official game description introduces a top-down arena shooter built around characters, weapons and items. Weapons fire automatically by default, with manual aiming available. This guide focuses on reading your build and making a clear next purchase; it does not promise a particular winning loadout or current numerical balance.
Read the character before choosing weapons
I recommend starting with a character whose bonuses and penalties you can explain in one sentence. That makes it easier to recognise an unsuitable offer. If you already enjoy a specialised character, keep using it, but let its actual description override generic beginner advice.
Check the weapon’s displayed damage scaling and its other properties. Do not assume a familiar-looking weapon benefits from every damage statistic. If two purchases improve unrelated parts of your equipment, ask whether you are splitting a limited budget across too many jobs.
| What happened in the wave? | What to inspect | A sensible shopping question |
|---|---|---|
| Enemies stayed alive and crowded you | Weapon damage, attack rate and whether your bonuses apply | Which available purchase improves the weapons I am actually using? |
| You defeated enemies but lost health repeatedly | Movement choices and available defensive or recovery options | Can I improve survival without making the damage problem worse? |
| An exciting item weakened another statistic | The full benefit and penalty | Is the downside affordable for this character? |
| You kept paying to change the offers | Remaining materials and useful purchases already visible | Am I searching for a need or chasing a favourite item? |
| You cannot explain why a weapon is equipped | Its role and scaling | Does it solve a current problem or merely fill a slot? |
Use the next wave as a short test
- Choose one problem. Describe the last wave in observable terms: enemies accumulated, movement became restricted, or health fell quickly.
- Read the entire offer. Include penalties and conditions. Compare it with the character description and your equipped weapons.
- Make a purchase with a reason. You should be able to say what improvement you expect before accepting it.
- Watch the next wave. Notice whether the identified problem is smaller. A successful wave does not establish that every purchase was good.
- Adjust the diagnosis. If damage looks adequate but collisions continue, consider movement and survival rather than buying more of the same statistic automatically.
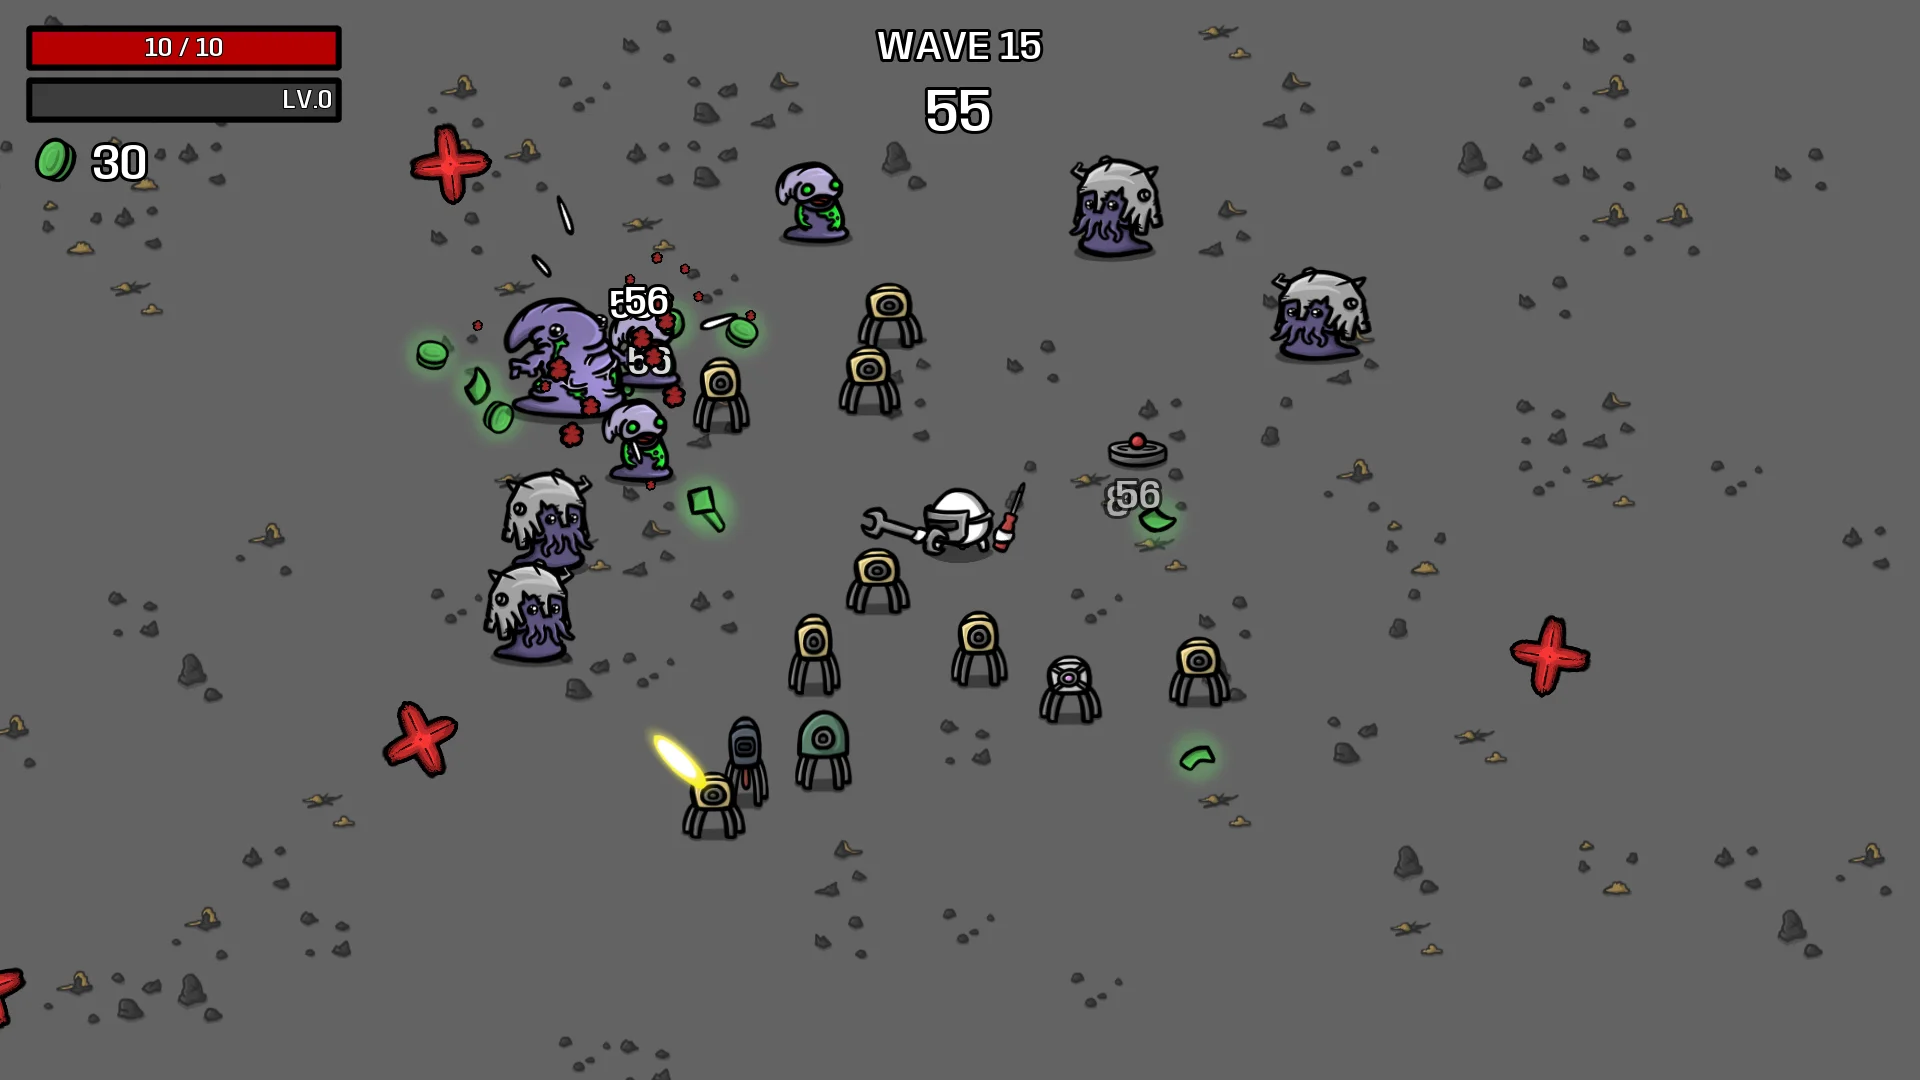
Keep a route out of the crowd
While moving, look ahead for open space instead of staring only at the closest enemy. A tempting pickup is a poor immediate target if reaching it traps you. Give yourself permission to leave it when the route is closing.
My preference for a learning run is to keep the equipment plan simple enough that I can watch movement. Once the basic pattern feels manageable, experiment with more specialised combinations. Trying to learn a new character, unfamiliar weapons and an aggressive collection route together makes it harder to identify what went wrong.
A worked shopping decision
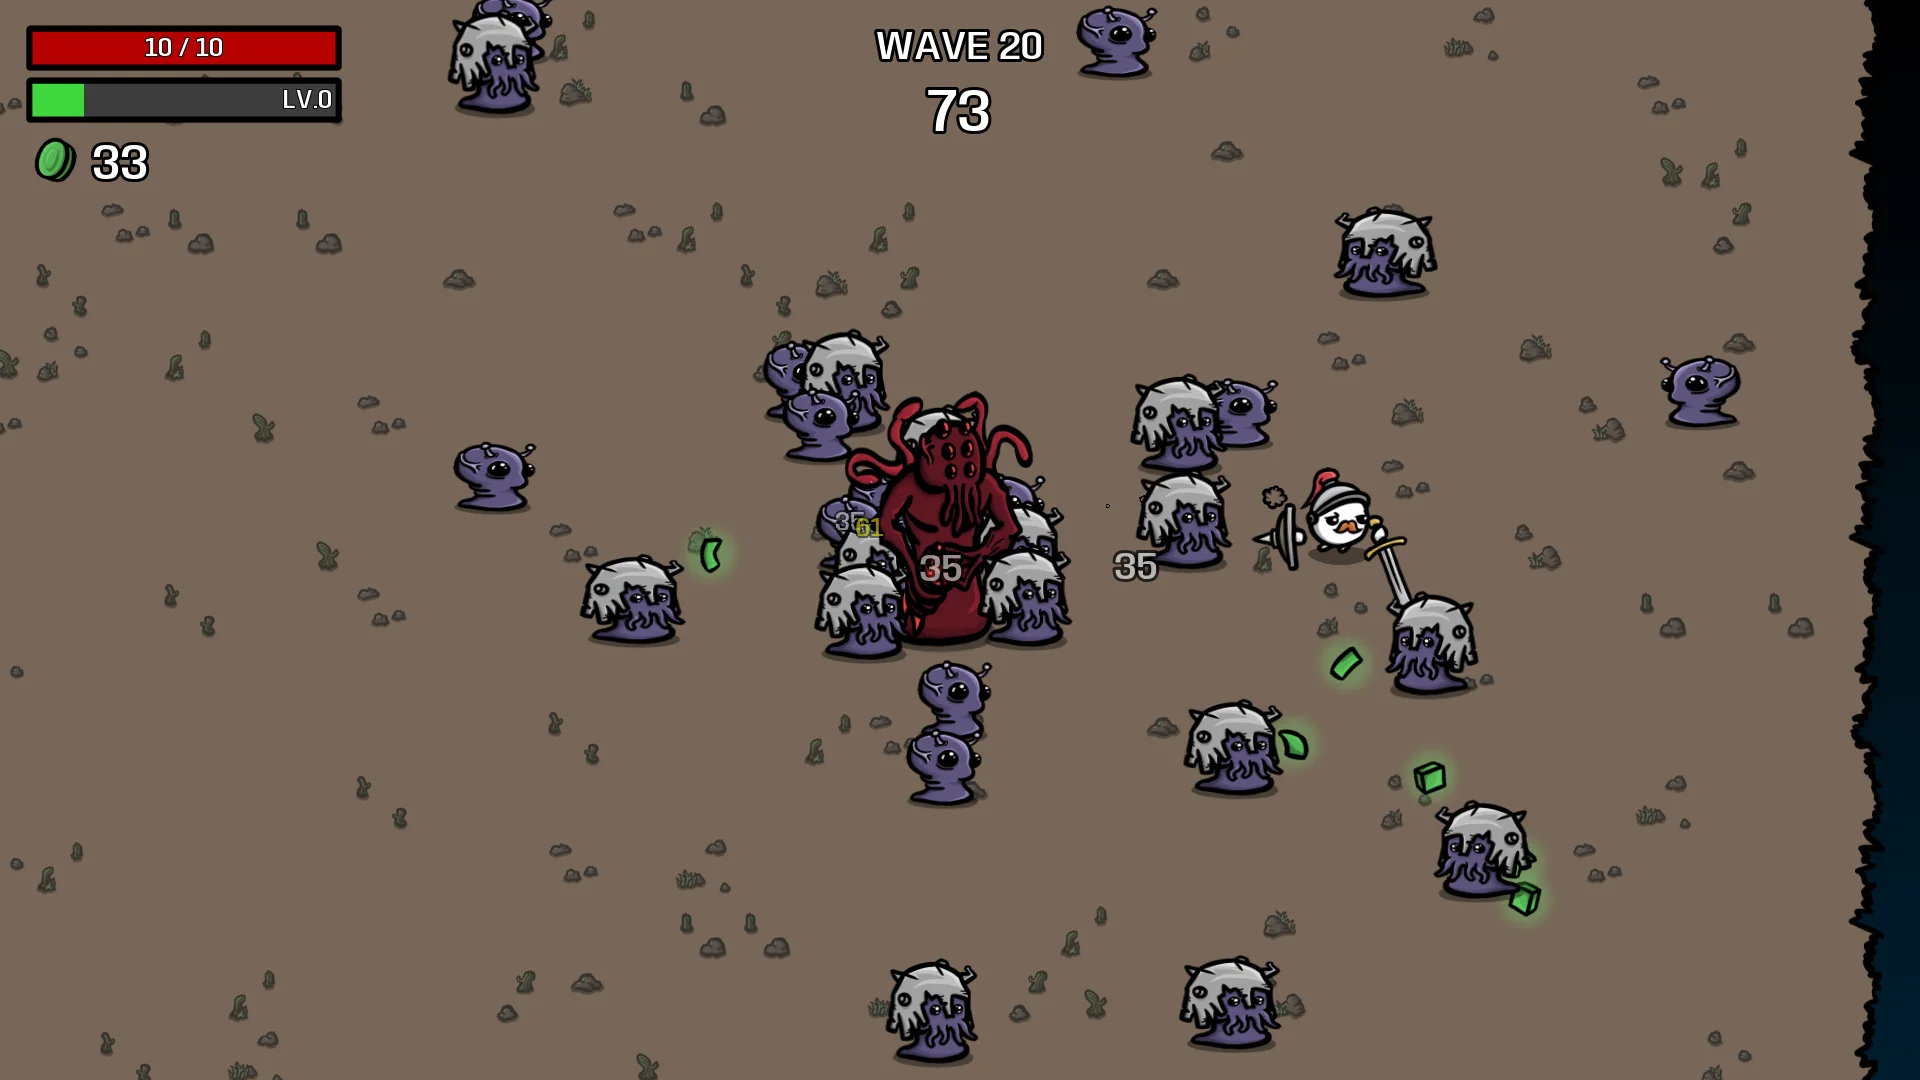
Consider this invented practice scenario: your weapons remove nearby enemies comfortably, but you repeatedly run through a cluster to collect materials and lose health. The next decision is not automatically “buy more damage.” First change that route. Then compare an available survival option with the items that improve damage, reading the trade-offs on each card.
If enemies instead remain alive around every exit, the diagnosis changes. Check whether your purchased bonuses apply to your weapons and whether the next offer improves their output. These are conditional decisions, not a fixed shopping list.
Make the next attempt easier to understand
At the end, write one sentence about the failure and one change to try. “Avoid crossing through the densest group for pickups” is testable. “Get luckier” gives you nothing to practise. Keep the character stable for the comparison if you want to isolate that change.
See the Arcade Games catalogue for other short-session guides. The screenshots come from Blobfish’s official press materials. Use the current in-game descriptions for exact statistics, item costs and character restrictions.
For another game where each purchase needs a reason, see our Luck be a Landlord beginner symbol guide.
Official brotato promotional screenshot. Copyright remains with the game developer.


No comments:
Post a Comment